
Kit assembly
Build your screen in 10 steps
 01
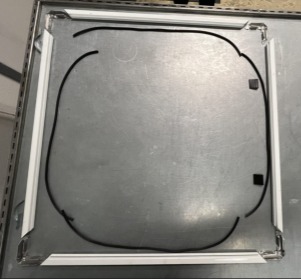
Lay it out
Lay all framing pieces on a flat surface.
 02
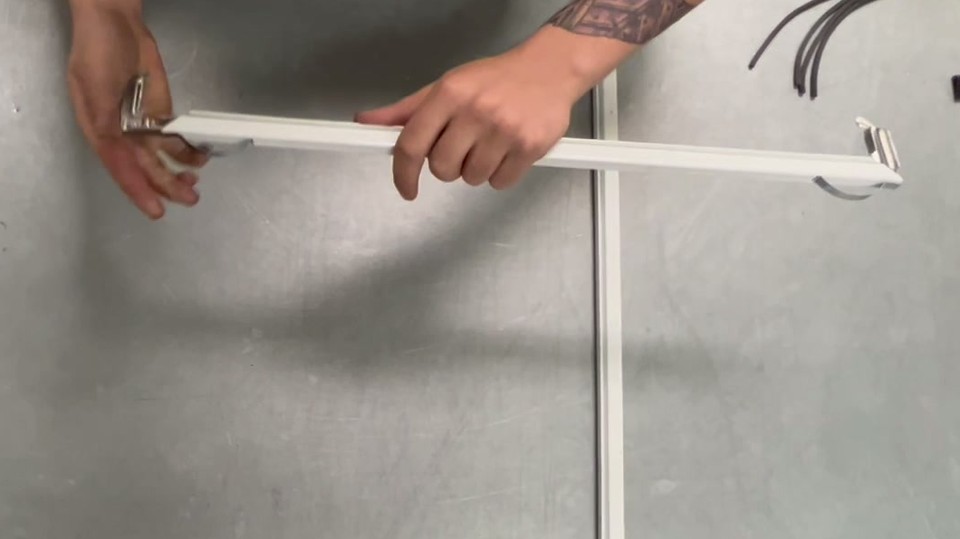
Insert springs
Slide both metal leaf springs into one frame piece. They keep the screen snug in the window.
 03
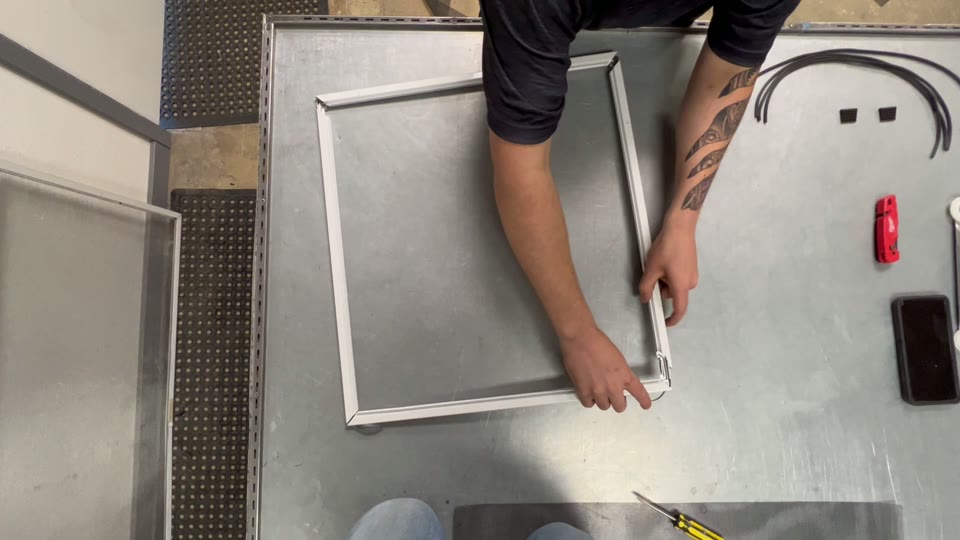
Join the corners
Connect the frame pieces with the 4 corner inserts. Line up the spline track in each corner with the track on the frame.
 04
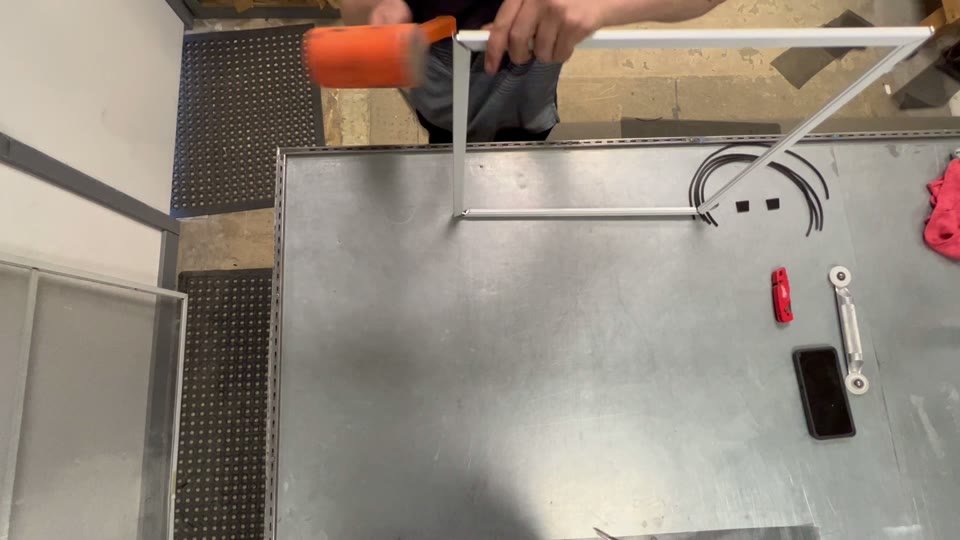
Press it tight
Use a mallet or the edge of a table to press the frame joints firmly together.
 05
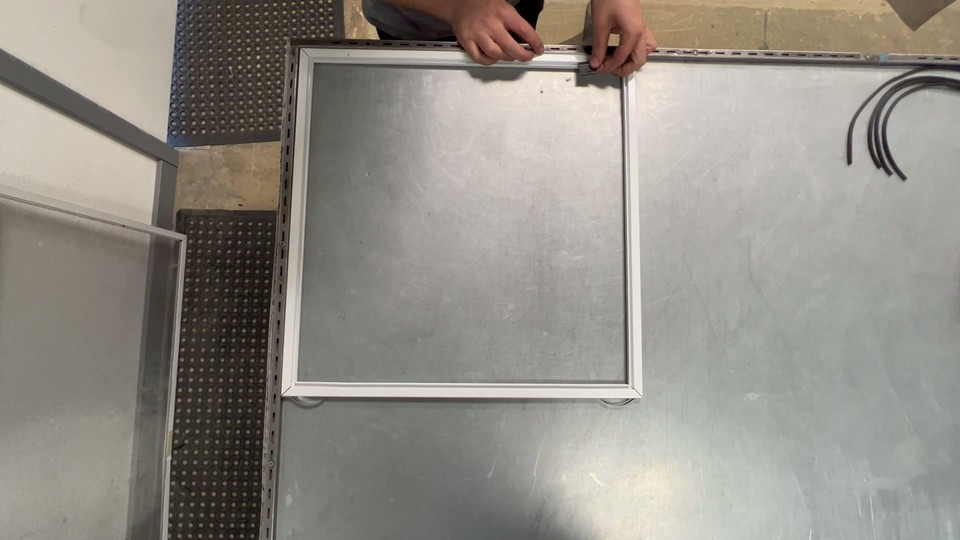
Steady the frame
Keep the frame flat. A little tape helps hold it still.
 06
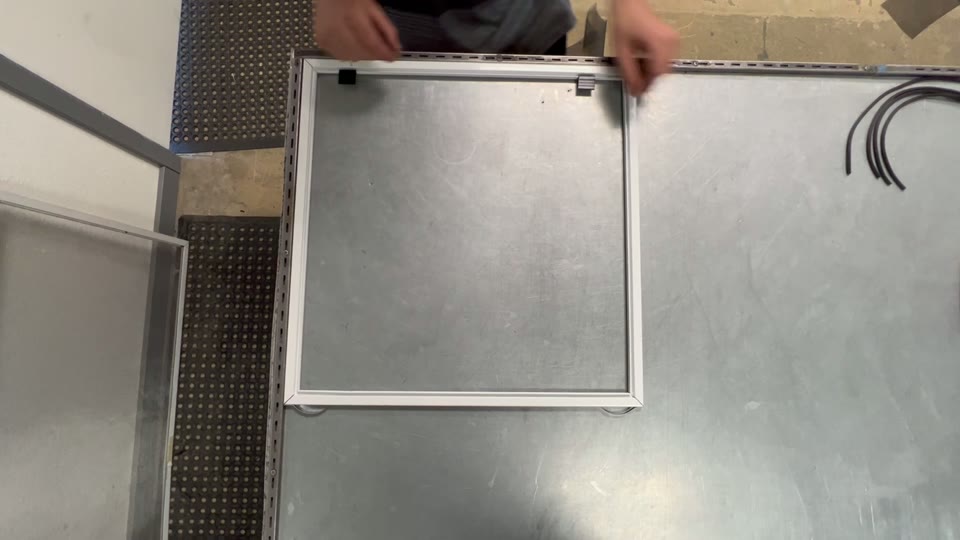
Add pull tabs
Place the two pull tabs on the side opposite the springs so the screen is easy to remove.
 07
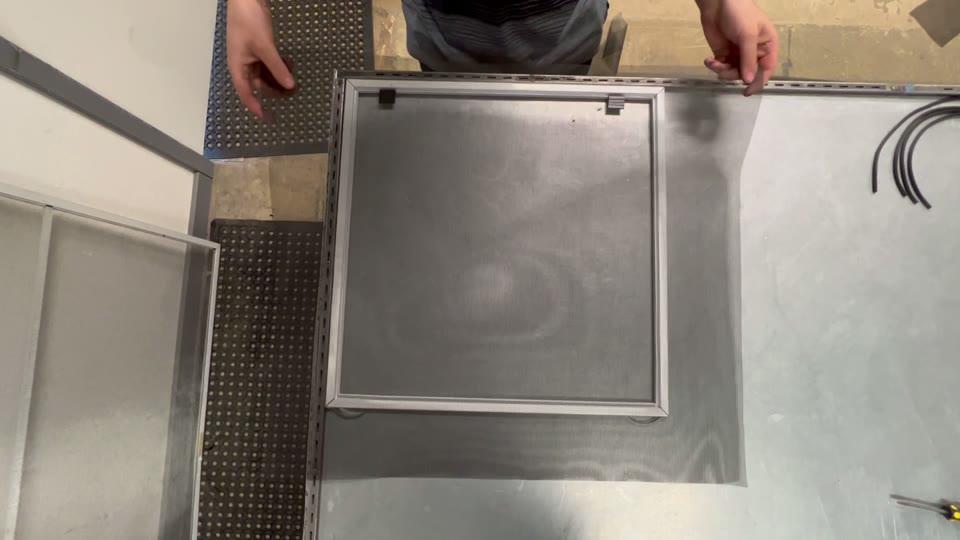
Lay the mesh
Spread the mesh evenly and flat across the frame.
 08
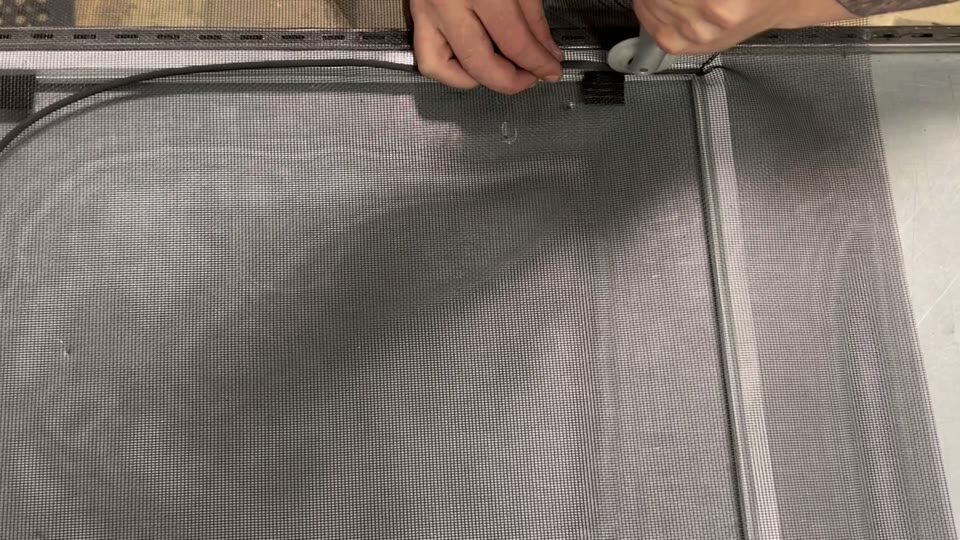
Pre-roll
Press the mesh into the channel with the roller first. This guides the spline in smoothly.
 09
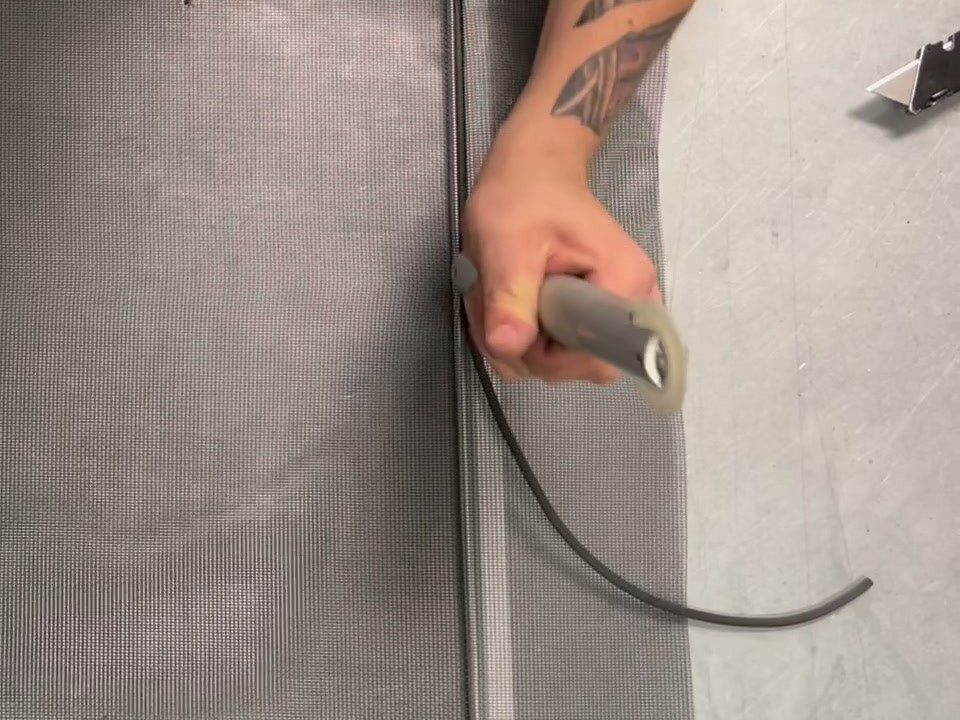
Roll in the spline
Starting at a corner, roll the spline into the channel all the way around. Keep the roller aligned and pull the mesh snug as you go.
 10
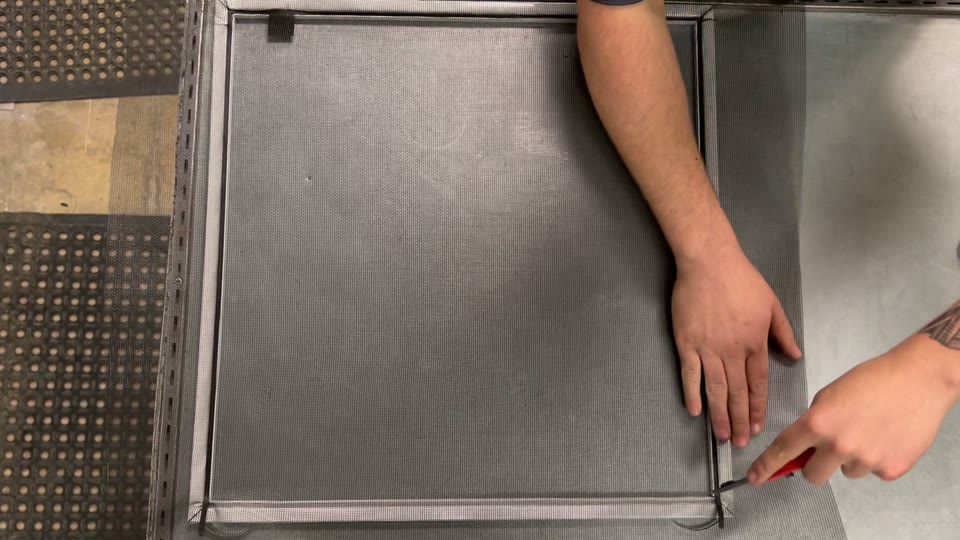
Trim
Cut excess mesh with a utility knife held at 45°, just above the spline. Trim the extra spline.
Need a spline roller or extra spline? See parts